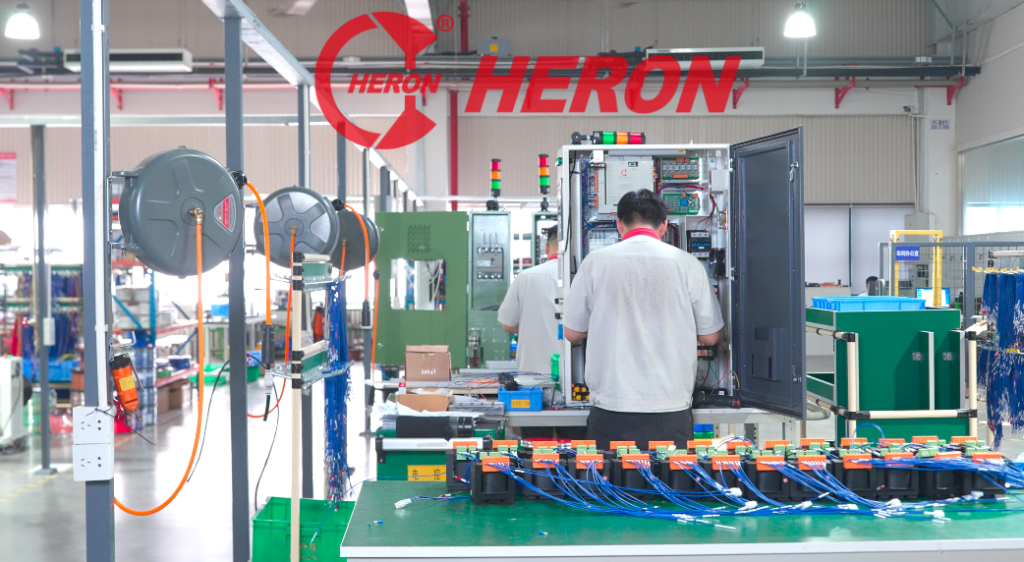
In recent years, major automotive manufacturers worldwide have adopted MFDC spot welder to car body welding lines, and their use has also expanded to aluminum alloy car body applications. MFDC spot welder offer high efficiency and lower energy consumption compared to conventional equipment. As a result, industries beyond automotive manufacturing are increasingly adopting this technology. With this shift, proper setup and operation of a MFDC spot welder has become more important. Incorrect parameter settings can lead to inconsistent weld quality, excessive spatter, or electrode wear. This article outlines how to set key parameters for a MFDC spot welder and provides a practical guide to the full spot welding process.
I. Standard Operating Procedure
A closed-loop workflow—preparation → setup → welding → inspection—is key to consistent spot welder performance and weld quality.
Step 1: Pre-Weld Check
Utilities: Confirm that all utilities are within specification. The cooling water system should have stable pressure, flow, and temperature, with no leaks. The compressed air supply must be dry and stable (typically 0.5–0.6 MPa). The power supply should be balanced across three phases, with voltage within the equipment tolerance (e.g., ±10%).
Workpiece and Electrodes: Clean the workpiece surface to remove oil and oxides. Ensure electrode caps are clean and not excessively worn or contaminated. Dress electrodes regularly to maintain proper shape and alignment. Poor parallelism can lead to inconsistent welds. The workpiece must be securely clamped and properly aligned.
Parameter Preparation: Select parameters based on material type, thickness, and combination of the materials to be welded. Use validated welding procedures whenever available. For dissimilar material combinations, run trials and perform destructive tests (such as peel or tear tests) to determine optimal current, weld time, and pressure.
Step 2: Parameter Setup and Test Welds
Load or input the welding program on the controller panel. Key parameters include pre-pressure time, weld current and time, hold time, and off time. Electrode force is typically set through the pneumatic system. Before production, run 2–3 test welds using the same materials and conditions. Adjust parameters based on weld appearance and consistency.
Step 3: Production Welding and Process Monitoring
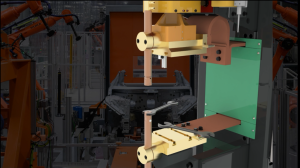
Start the spot welder and maintain a consistent operating cycle time. A complete weld cycle includes: Squeeze (establish electrode force) → Weld (current heating) → Hold (cooling and solidification under pressure) → Off. During operation, monitor weld quality, including surface condition and indentation depth. Watch for abnormal spatter or noise. The controller feedback—current, voltage, and pressure—should be monitored in real time. Ensure actual values remain within the acceptable range of the set parameters.
Step 4: Post-Weld Handling and Initial Inspection
After welding, maintain electrode force for sufficient cooling time. Do not release the electrodes or move the workpiece too early, as this may cause cracks in the weld nugget. Perform first-piece inspection for each batch. Typical checks include visual inspection and destructive testing (such as tear testing).
II . Core Safety Requirements
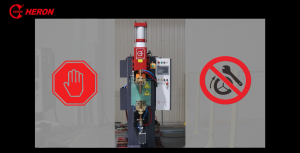
Safety is critical in spot welder operation. The following requirements must be strictly followed:
(1)Electrical and Magnetic Field Safety
A spot welder operates with high voltage on the primary side and high current on the secondary side. Only qualified personnel should access the electrical cabinet. During maintenance, follow lockout procedures: power off and tag, shut off air supply, and allow the system to cool. MFDC transformers generate strong magnetic fields, which may interfere with implantable medical devices such as pacemakers. Personnel should maintain a safe distance (typically at least 1 meter).
(2) Personal Protection
Spot welding produces spatter and intense light. Operators must wear appropriate PPE, including safety glasses or face shields, welding gloves, and flame-resistant clothing. Do not touch the workpiece or electrodes immediately after welding, as they remain hot.
( 3 ) Fire Prevention and Equipment Safety
Keep the work area free of flammable or explosive materials. Ensure appropriate fire extinguishers are available. The spot welder must be properly grounded. If the cooling system alarms or fails, stop the machine immediately to prevent overheating of the transformer and secondary circuit.
( 4 ) Lockout and Tagout
Before any adjustment, maintenance, or cleaning, apply safety lockout/tagout procedures. Lock the main power switch in the OFF position and attach a warning tag. Proper operation of a spot welder requires more than basic operation. It requires understanding the process, following procedures, and managing operational risks. For more technical guidance or application support, please contact us.
As a leading manufacturer of intelligent resistance welding equipment, Heron provides MFDC spot welders and robotic welding solutions designed for stable performance, high efficiency, and energy savings. We support customers with complete solutions—from process development and equipment integration to technical training—helping ensure consistent and reliable weld quality in production.